利用 gitPage 和 hexo 搭建一个博客
介绍
Github Pages
Github Pages 是一个可用于托管静态页面的平台,站点免费托管在 github 上,使用 gitPage 来放我们的页面时,首先要在 github 建立相应的仓库,并且仓库名命名方式为: username.github.io
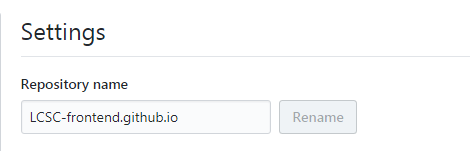
这个时候我们放在该仓库中的静态页面可以通过 https://username.github.io 去打开,比如这里是: https://lcsc-frontend.github.io/
hexo
hexo,一款基于 node 的博客框架,一般使用 markdown 来解析文章,比较方便地根据主题布局和文章生成静态页面。
也就是说,我们可以利用 hexo 这个框架来生成博客的静态页面,然后部署到 gitPage 上,通过 username.github.io 来访问我们的博客。
搭建过程
搭建前先要有 node 和 git 环境
在 github 上新建一个仓库,名为 username.github.io。(这里的 username 必须是你的用户名,按这种命名方式的仓库是一个“特别”的仓库,可以通过 https://username.github.io/ 访问)
安装 hexo,找一个合适的地方,执行:
1
2
3
4
5
6
7
8
npm install hexo-cli -g
hexo init blog
cd blog
npm install // 安装相关的依赖
hexo g // 生成静态文件,可以看到 blog 中多了几个文件夹 (完整的命令是: hexo generate )
hexo s // 开启本地服务 (完整的命令是: hexo server )
// 执行了 hexo s 之后,可以打开 localhost:4000 看到当前的博客生成的样子 (此时使用的是默认主题)更改主题
hexo 有很多人贡献了主题,比如现在我们想把主题更改为 nexT ,首先克隆 nexT 代码至 /blig/themes/next 目录 (如果要把博客主题也放在 github 上面,可先看看后面“将 blog 相关 hexo 代码放在 github 上”)。接着,我们需要将主题从默认的 landscape 改为我们想要的 next1
2
3
4
5
6
7
8git clone https://github.com/iissnan/hexo-theme-next themes/next // 可以看到 themes 中有了 next 目录,其中是其相应的布局等文件
# 找到 blog/_config.yml 配置文件,更改:
# theme: landscape
theme: next
# 主题安装完成,最好先使用 hexo clean 先来清楚 hexo 缓存,然后再 hexo g,hexo d
# 同时,其他主题相关配置都可以在 themes/next/_config.yml 中进行修改。布局等则在 theme 中相关 layout 文件中进行更改,如果你需要的话将 hexo 部署到 gitPage。hexo 可以部署到不同的平台,这里我们是将它部署到 gitPage 上,首先需要修改 blog/_cofig.yml 文件中的 deploy ,然后安装一个插件 hexo-deployer-git
1
2
3
4
5
6
7
8
9deploy:
type: git
repo: https://github.com/username/username.github.io.git
branch: master
// 之后执行之前说的命令:
hexo d // 这个时候访问 https://username.github.io/ 可以看到你的博客页面
将 blog 相关 hexo 代码放在 github 上
在 github 上新建一个仓库,我本来以为 push 上去就 okay 了,结果似乎没有那么顺利。发现新的主题 next 没有被 push 上去,ε=(´ο`*)))唉。怎么处理这个问题?使用 git subtree。将 themes/next 这个主题作为子项目合并到项目中,变成其的一个子目录。
先 fork 你想要的主题到你的 github 账号下,比如我还是 fork next。
当然,还是要先将 blog 项目 push 到 github 上去
如果你之前就把 next 放在 blog 里了,就先 remove,并把删除记录提交上去:1
2git commit -m "delete next"
git push
在主项目 blog 中,将子项目 next 添加到远程库1
2git remote add -f next https://github.com/username/hexo-theme-next.git
git subtree add --prefix=themes/next next master --squash
拉取子项目文件夹:1
2git fetch next master
git subtree pull --prefix=themes/next next master --squash
这个时候可以在本地看到 next 目录
将子目录 push 到远程仓库(子项目):1
git subtree push --prefix=themes/next next master
将修改 push 到主项目:1
git push
这个时候回到 github ,在主项目中看,可以找到 themes/next 目录。
为博客添加文章评论功能
此博客文章评论功能是使用 gitment 来实现的。gitment 是一款基于 github issues 的评论系统,以 github 账号登录,评论内容会显示在所有者相应repo 的 issues 中。
整个过程是这样的:
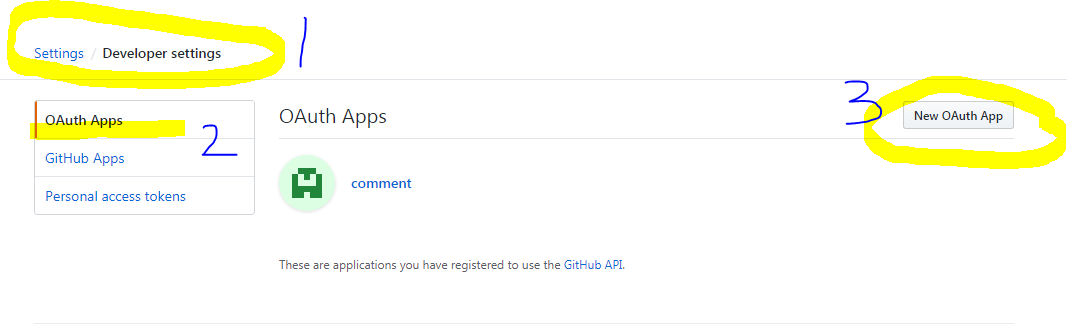
博客所有者的 github 账号中注册 OAuth Application。
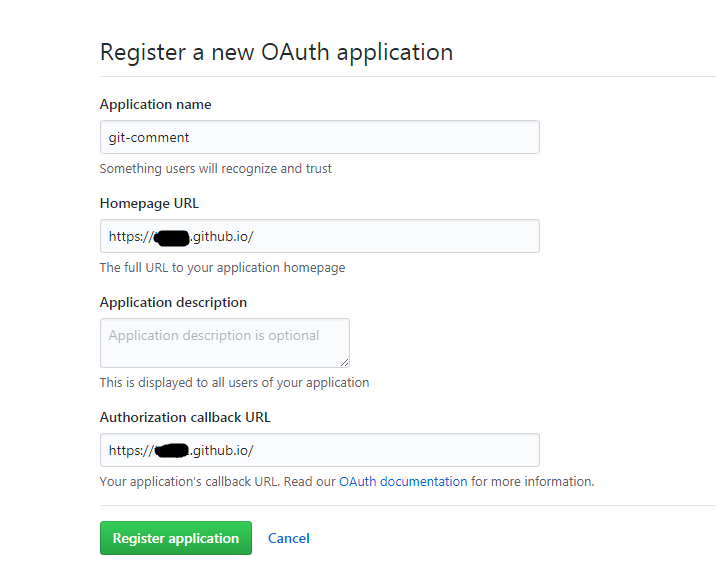
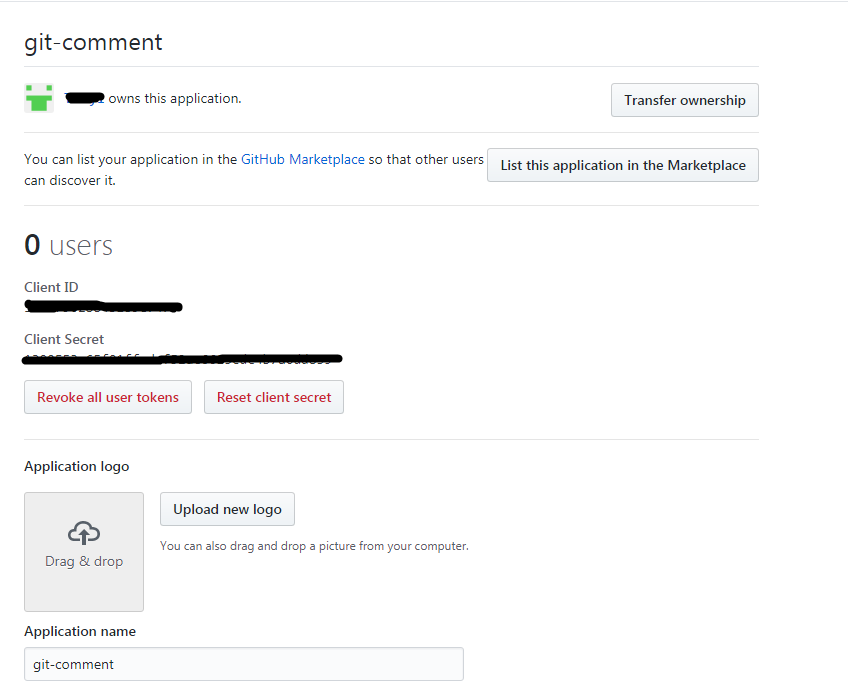
写上应用的名称,重点是“Authorization callback URL”要写对,写网站(你的博客)的域名。注册成功后,可以看到 Client ID 和 Client Secret
然后使用 npm 安装 gitment 插件1
npm install gitment --save
在 github 中创建一个仓库,这个仓库之后的 issues 放着博客文章的评论。这里我给仓库取名 git-comments
在 blog/themes/next/_config.yml 中填写相应的配置:1
2
3
4
5gitment:
github_user: xxx # MUST HAVE, Your Github ID
github_repo: git-comments # MUST HAVE, The repo you use to store Gitment comments
client_id: xxxxxx # MUST HAVE, Github client id for the Gitment
client_secret: xxxxxx # EITHER this or proxy_gateway, Github access secret token for the Gitment
这个时候可以看到文章后面已经有了评论的相关功能,但是还处于未初始化状态,需要登录账号去进行初始化,但登录账号会直接进入 xxx.github.io,所以要进行初始化操作,首先将最新的部署到 git 上面,执行 hexo g 和 hexo d。登录成功后点击“初始化”按钮,功成身退。